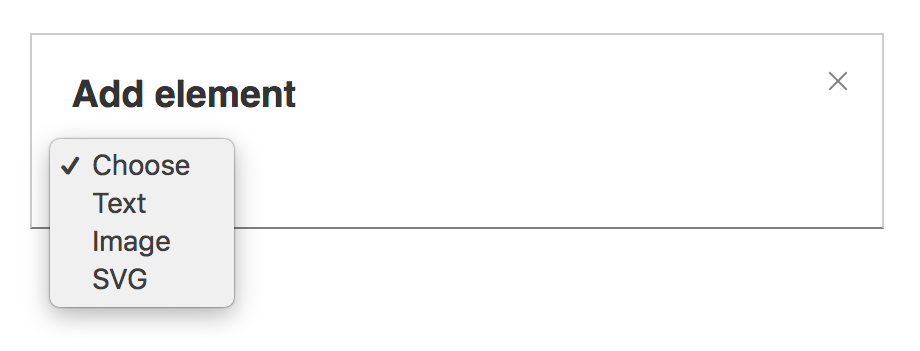
Benutzerdefinierte Schaltflächen und Elemente Leider ist dieser Artikel auf Englisch verfügbar In PRO you can add custom elements to the players UI like text, icon or image (for example, a logo). Use
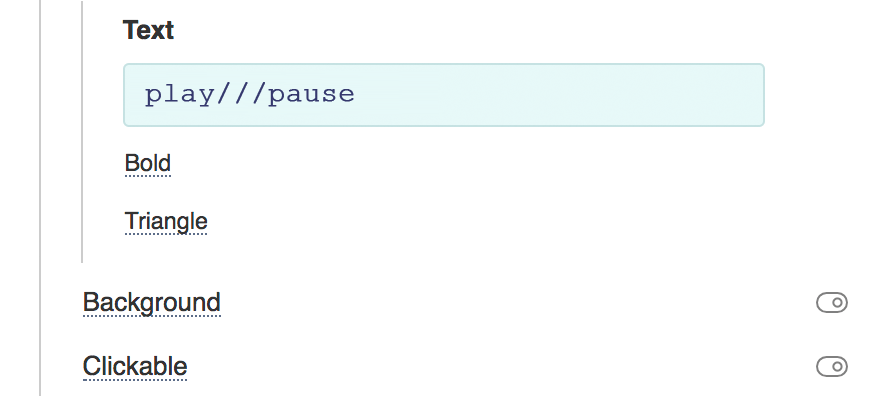
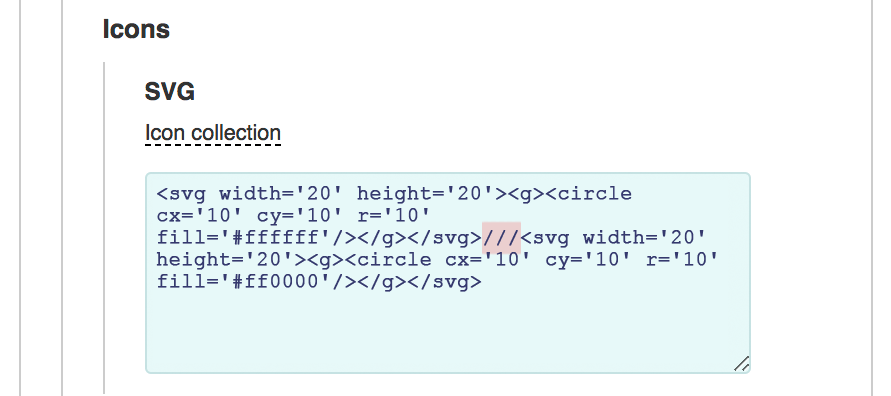
For the Text, you need to add some text, for the Image link to the file or the content itself like data:URI, for SVG choose an icon from the collection, or place a SVG code. You can also load the SVG code dynamically if you specify there a JS variable like var:xxx ActionFor an element to perform an action, you must specify an Action ‒ URL, an API command, or a Javascript call. For example, open url: //playerjs.com ↓ launch the player api:play ↓ rewind for ten seconds api:seek,-10 ↓ call a function called MyFunction, passing it two arguments. js:MyFunction,x,y ↓ you can use placeholders {title}{time}{file} js:MyFunction,{file},{time}
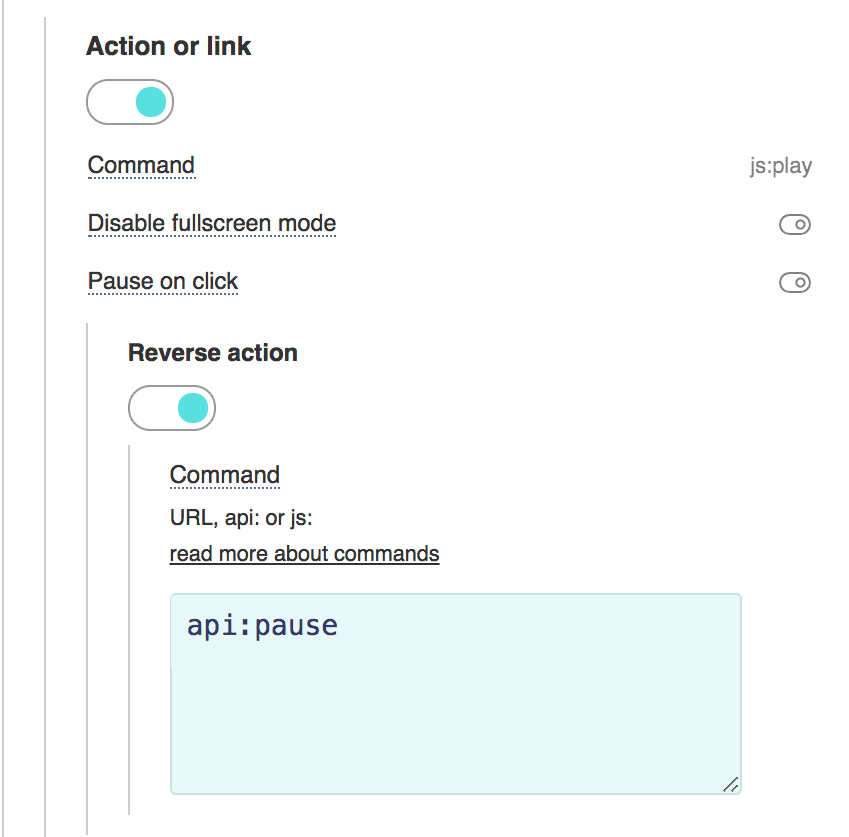
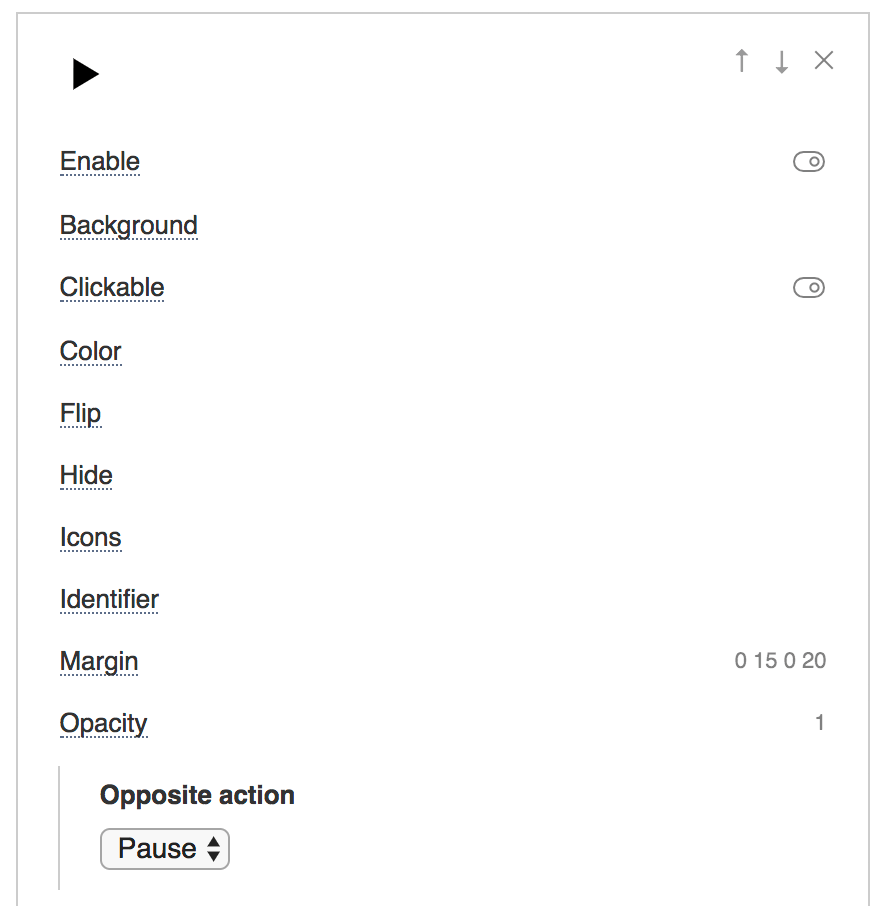
↓ directly call a JS action that has parentheses (for example, returning the browser tab back) js:history.go(-1) ↓ triggering JS event event:myEvent You need to subscribe the container: document.getElementById("player").addEventListener("myEvent",onMyEvent); Reverse actionFor elements
You can also add reverse action
You can also choose the opposite action of the
If you give an function PlayerjsEvents(x){
if(x=="init"){
player.api("button","toogle","id:heart");
}
}
How to combine icon and text
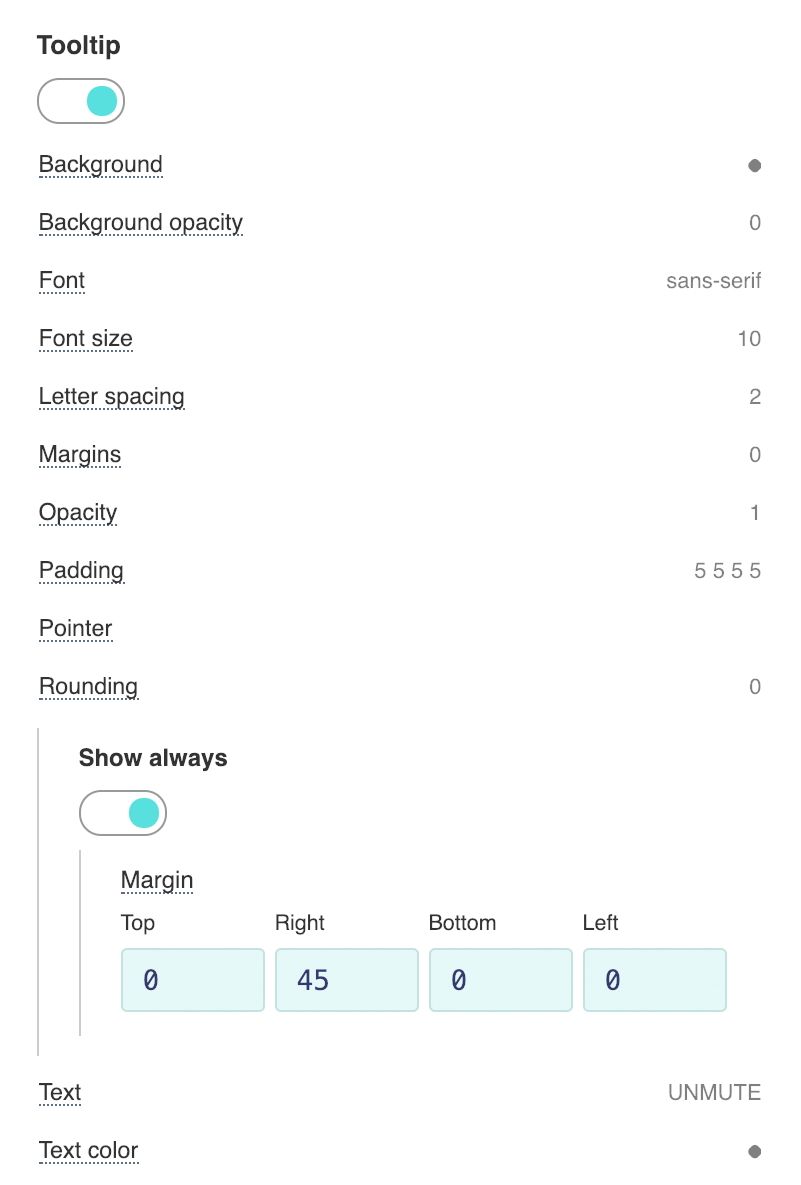
You need to create an element of type SVG and specify its code, or select the desired icon in the library. Then you need to include a
|
